Are you tired of spending thousands on digital ads without knowing exactly which clicks drive results? If you’ve ever felt lost in a sea of traffic reports and conflicting numbers, you’re not alone. The difference between good marketing and great marketing comes down to tracking precision—and that’s where GCLID (Google Click Identifier) and FBCLID (Facebook Click Identifier) change the game.
These unique tracking parameters are your keys to unlocking crystal-clear attribution across Google and Facebook campaigns. When implemented properly, GCLID and FBCLID let you trace every visitor’s journey from first click to final conversion—eliminating the guesswork and revealing the true ROI of every ad dollar.
In this guide, you’ll discover how to set up, optimize, and troubleshoot GCLID and FBCLID tracking. You’ll learn how to integrate these powerful tools with your analytics stack, avoid common pitfalls, and transform messy data into actionable insights. Whether you’re a marketer chasing peak performance or a business owner demanding results, mastering these tracking secrets means no more blind spots—just pure, profitable clarity.
Ready to make every campaign count? Let’s dive in.
Understanding GCLID & FBCLID
GCLID (Google Click Identifier) and FBCLID (Facebook Click Identifier) are unique click identifiers automatically appended to your URLs when a user clicks on a paid ad from Google or Facebook, respectively. This process—called auto-tagging—enables advertisers to track each visitor’s journey with remarkable accuracy.
When a user clicks on your ad, the platform instantly adds a string of letters and numbers (the identifier) to the destination URL. For example:www.yoursite.com/?gclid=xyz123 or www.yoursite.com/?fbclid=abc456
These URL parameters act as digital fingerprints, allowing your analytics and attribution platforms to recognize exactly where each visitor came from, which campaign triggered their action, and how they behave after landing on your site.
This level of granular tracking is essential for building effective attribution models—frameworks that assign value to each marketing touchpoint along the conversion path. With GCLID and FBCLID, you can finally move beyond guesswork and accurately measure which ads, keywords, and audiences are truly driving results.
Want to get fluent in tracking terminology?
Check our glossary of key tracking terms for definitions and best practices.
Setting Up GCLID Tracking
Think of GCLID as a digital tracking beacon—like a courier’s barcode for your marketing campaigns. If you want to know exactly which Google Ads “package” delivered a customer, you need to ensure every click leaves a unique, traceable marker.
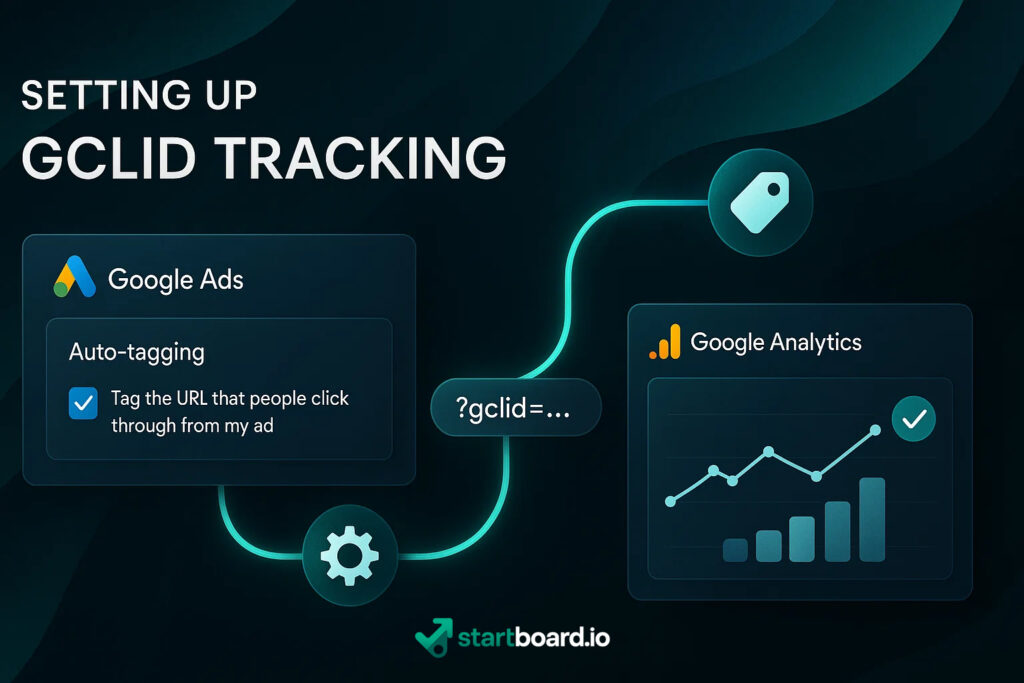
Step 1: Enable Auto-Tagging in Google Ads
First, activate auto-tagging in your Google Ads account. This is like instructing all your couriers to automatically add a barcode to every shipment.
- Go to your Google Ads dashboard
- Click the gear icon (“Settings”)
- Under “Account Settings,” ensure “Auto-tagging” is enabled
Now, every ad click will automatically append a GCLID (Google Click Identifier) to your URLs, making each visitor traceable in your analytics flow.
Step 2: Ensure GCLID is Appended to URLs
Double-check your website doesn’t strip URL parameters during redirects or after landing. If you use landing page builders or tracking templates, confirm they preserve the GCLID value.
Step 3: Configure Google Analytics to Capture GCLID Data
To get the most from this system, you must teach Google Analytics to recognize and leverage the GCLID “barcodes”:
- In Google Analytics, link your property with your Google Ads account for seamless Google Ads integration
- Check that “Google Ads Linking” is active (Admin > Property > Google Ads Linking)
- For advanced tracking, create custom dimensions to store and analyze GCLID values per session or user
Step 4: Use GCLID Data for Conversion Tracking
Now, with everything connected, you can use the GCLID to tie ad clicks to conversions—showing you exactly which ad, keyword, or audience segment delivered the sale or lead.
This is the foundation of true conversion tracking—finally revealing your real ROI and enabling smarter budget allocation.
Want a full walkthrough with screenshots?
Read our detailed guide on integrating Google Ads with Google Analytics for step-by-step instructions.
Implementing FBCLID Tracking
FBCLID (Facebook Click Identifier) is the unique marker Facebook appends to your URLs, enabling precise tracking of ad-driven visitors—much like a digital wristband for every click.
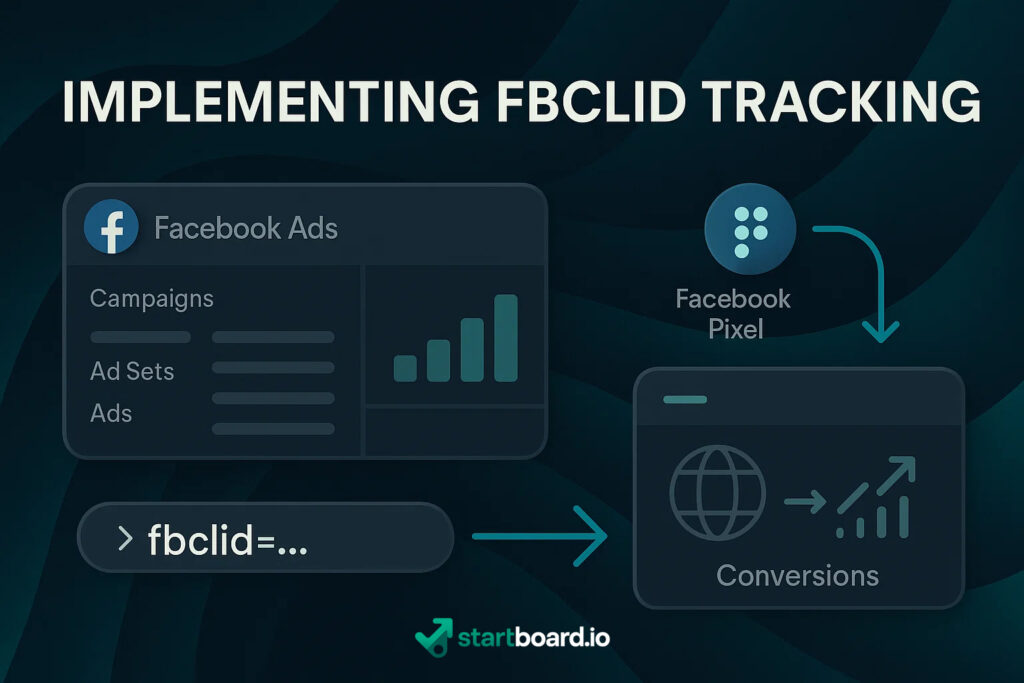
Step 1: Ensuring FBCLID Is Captured in Your URLs
Whenever someone clicks a Facebook ad, the FBCLID is automatically added as a URL parameter (e.g., ?fbclid=xyz123). To guarantee tracking accuracy, make sure your landing pages, redirects, and analytics tools always preserve this parameter throughout the user’s journey. If you use redirects, check that your web host or CMS doesn’t strip query strings.
Step 2: Configuring Facebook Pixel
Set up and install the Facebook Pixel on all relevant website pages.
- In Facebook Ads Manager, create or access your Pixel (Events Manager > Data Sources > Pixels).
- Follow the instructions to embed the Pixel code before the closing
</head>tag of your site. - Use the Pixel Helper browser extension to verify your installation.
Step 3: Enabling Cross-Domain Tracking
If your conversion journey spans multiple domains (for example, payment processors or landing pages), configure cross-domain tracking. In Events Manager, add all relevant domains to your Pixel settings so the FBCLID is retained as users move between sites.
Step 4: Integrating with Analytics Platforms
Connect your Facebook Pixel to your analytics tools—Google Analytics, CRM, or custom dashboards—to associate the FBCLID with each session. This allows for in-depth event tracking: you can attribute conversions, purchases, or sign-ups back to specific Facebook ads and audiences.
When set up properly, FBCLID tracking closes the attribution loop, revealing not just the volume but also the quality and outcome of your Facebook traffic.
Need help with the technical steps?
Read our guide on setting up Facebook Pixel for conversion tracking for step-by-step instructions.
Common Challenges and Solutions
Tracking campaign performance with GCLID and FBCLID isn’t always straightforward. Here are the most common challenges—and how to overcome them:
1. Parameter stripping during redirects
Many website builders, redirect tools, or third-party plugins unintentionally strip URL parameters, causing you to lose critical tracking information.
Pro tip: Test all your redirects and landing pages to ensure that GCLID and FBCLID remain intact throughout the entire journey. Choose platforms that support robust parameter handling and always check after updates.
2. Cross-domain issues
When your customer journey spans multiple domains (e.g., payment processors, subdomains), tracking identifiers can get lost in transit.
Pro tip: Set up proper cross-domain tracking in your analytics and ad platforms. Explicitly list all relevant domains in your Google Analytics and Facebook Pixel configurations to maintain data continuity.
3. Privacy concerns and consent management
Strict privacy regulations (GDPR, CCPA) require user consent before collecting tracking data, which can impact the completeness of your analytics.
Pro tip: Implement clear, user-friendly consent management tools. Transparently communicate what you’re tracking and why, and give users an easy way to manage their preferences.
4. Data discrepancies and integrity issues
Occasional mismatches between ad platforms and analytics tools (e.g., Google Ads vs. Google Analytics) can obscure true performance.
Pro tip: Regularly audit your data for anomalies. Align attribution windows and conversion events across platforms, and investigate any persistent discrepancies to ensure your reporting reflects reality.
Still having trouble?
Read our troubleshooting guide for tracking parameters for advanced solutions and diagnostic tips.
Best Practices for Maximizing Tracking Accuracy
Standardize UTM tags for all campaigns to ensure clear, unified data collection across platforms.
Centralize and control all tracking scripts with a tag management system like Google Tag Manager.
Ensure your data layer structure is well-defined, supporting consistent event and parameter tracking.
Frequently audit your tracking set-up to catch errors, validate data flow, and maximize accuracy.